I have tried Photogravure and I have found it to be a beautiful process but very time consuming. This is not a bad thing however, as the results can be rewarding.
The first step in making a Talbot-Klic copper plate hand-pulled photogravure print is preparing the printing plate. This pure copper plate must be thoroughly cleaned, its surface highly polished, and its edges beveled (to avoid damaging the paper during printing). Next it is evenly dusted or sprayed with an acid resist of rosin or asphaltum, and heated to make the resist adhere. This procedure is identical to that of aquatint print-making, so early photogravures were sometimes called photo-aquatints.

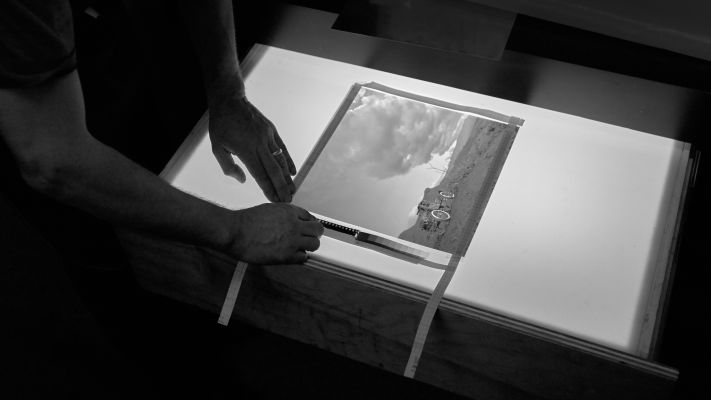
While the plate is being readied, the image is also prepared. A positive transparency is made from either an original negative or a copy negative. This film positive, which must be made the size desired for the final print, is then contact-printed under ultraviolet light to a gelatin-coated paper (known as carbon tissue) which was previously made light sensitive by soaking it in a solution of potassium bichromate and then dried. In this process, the action of the light through the film positive changes the melting temperature of the gelatin. Areas exposed to light have a higher melting temperature and are said to be “hardened” and less exposed areas stay the same.
Next the image must be transferred to the prepared copper plate. The image-carrying tissue is adhered to the plate. This tissue/plate is then soaked in hot water softening the gelatin and allowing the paper base of the tissue to separate. Portions of the gelatin that received little or no light during exposure to the transparency remain soluble and slowly wash away, leaving a gelatin image that will act as an acid resist when the plate is etched. The gelatin image on the copper plate, now called a resist, is then dried.
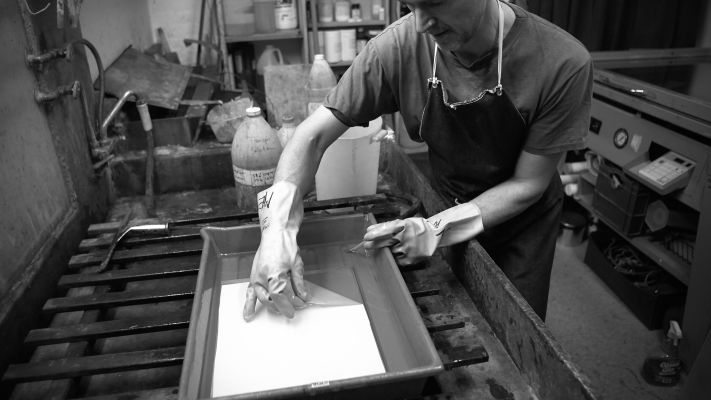
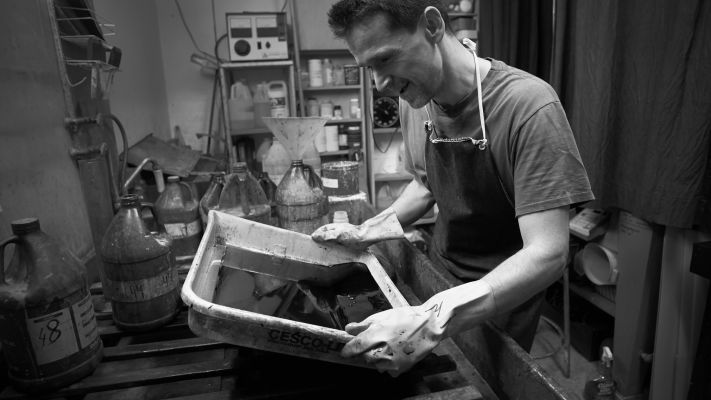
Next the plate is placed in a succession of etching baths. Etching begins in sequence in proportion to the thickness of the gelatin coating and the viscosity of the mordant (Ferric Chloride) etching bath. The viscosity of the Ferric Chloride controls the speed with which the solution penetrates the gelatin. The result is a plate with many minute reservoirs or cells of varying depths. During printing, the deeper cells hold more ink and thus transfer more ink to the paper, creating the darker areas of the image.
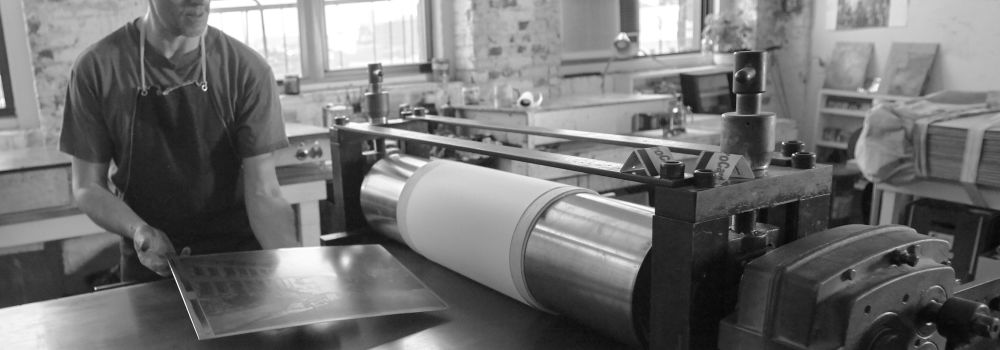
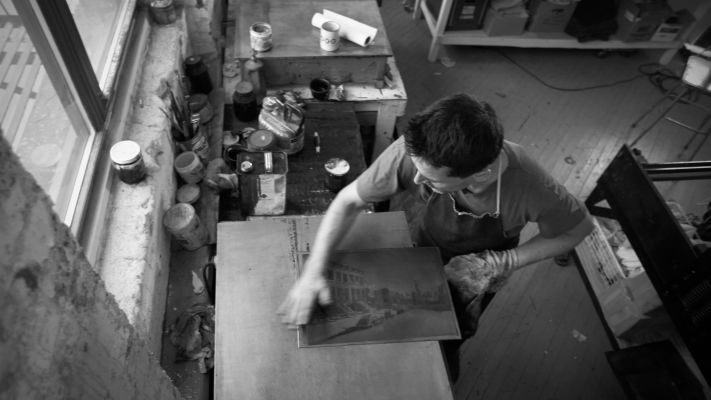
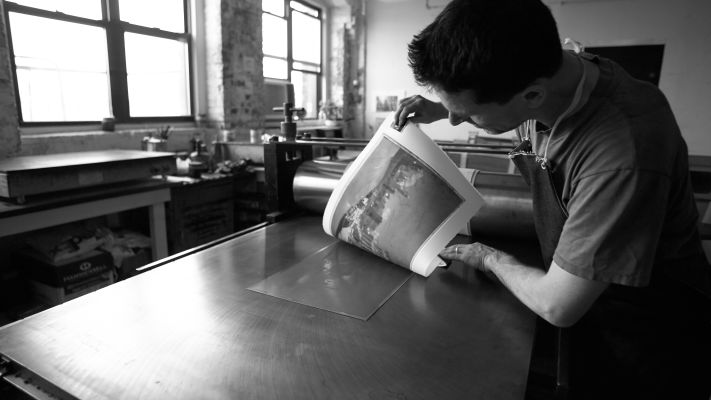
Finally, after the plate has been thoroughly washed, the gravure is printed – on an etching press, like all other forms of intaglio printing. Stiff ink is spread over the entire plate and worked into the recessed areas that form the image. Next, the surface of the plate is carefully wiped, leaving ink only in the tiny, hollowed-out pits. The plate is then positioned face-up on an etching press. The artist places a piece of dampened, high-quality paper over the plate then covers the paper with etching felts for padding and passes this through the press. The rollers force the paper into the small depressions that hold the ink, creating a printed image. To make the next impression, the artist re-inks the plate and repeats the process. At the end of the printing session, the plate is thoroughly cleaned.
This procedure produces “grain” gravures, so called because of the random dots created by the dusted rosin. Recent developments in the digital realm have made possible the production of film digital screens that can effectively be used to achieve the aquatint graining rather than the traditional method of rosin dust. Photogravure is a time-consuming, labor-intensive, costly process used today only by fine-art photographer-printmakers.
For more detail see Lothar Osterberg’s Brief Outline of the Photogravure Process and/or watch the short film made in Paul Taylor’s studio below….
Online Source: https://photogravure.com/process/
