Natural dyeing projects often require a pre-treatment to ensure the dye bonds well with the fabric. While protein fibres (like wool and silk) naturally bond with dye molecules, cellulose fibres (such as cotton, linen, and other plant-based fabrics) are less receptive. This is where soya milk comes into play and is an effective, sustainable pre-treatment method. When applied correctly, soya milk helps bind natural dyes to cellulose fibres, resulting in vibrant, longer-lasting colour.
Below is a detailed guide on using soya milk as a pre-treatment, which enhances the fabric’s dye uptake and allows you to achieve more even, and stable colours.
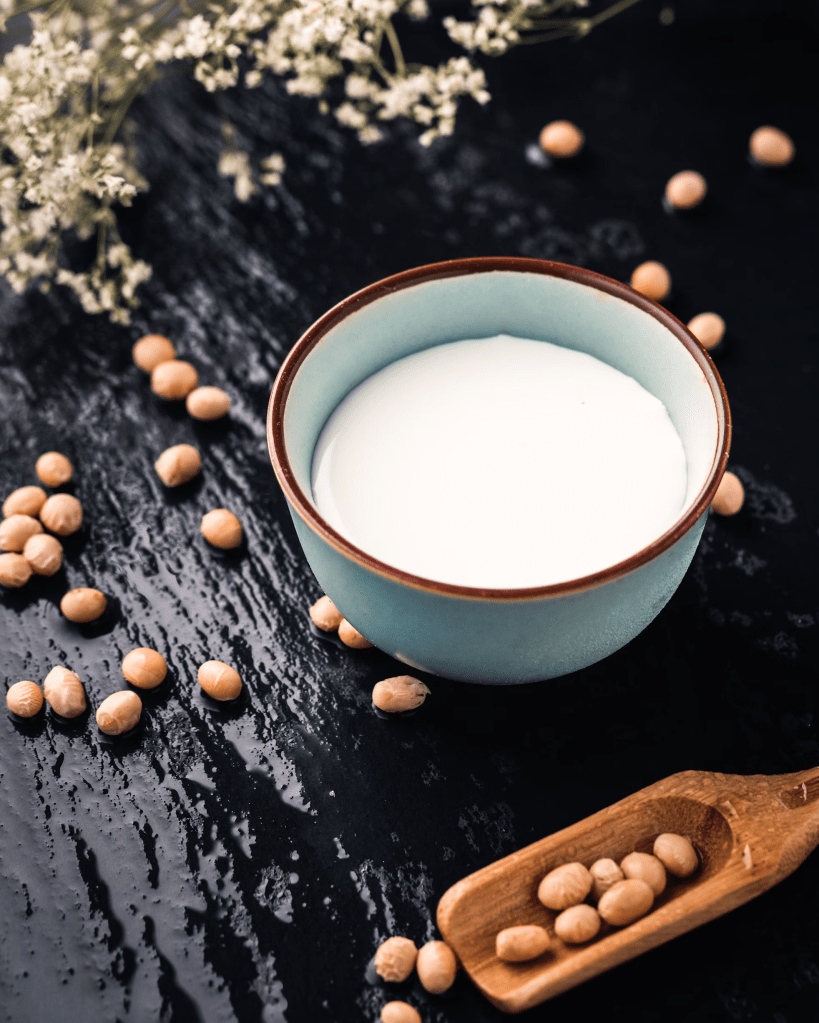
Step 1: Preparing the Soya Milk Solution
To start, prepare a diluted soya milk solution. You’ll need:
- Soya Milk: Use commercially available, unsweetened soya milk, or make your own if you prefer.
- Water: Mix soya milk with water in a 1:5 ratio.
Proportion Guide
For example, one litre of soya milk mixed with five litres of water will treat approximately 400 grams of fabric. Scale this up or down based on the amount of fabric you plan to pre-treat.
Step 2: Soaking the Fabric
- Soak Fabric for 12 Hours
Submerge the fabric in the diluted soya milk solution, and ensure it’s completely covered. Allow the fabric to soak for at least 12 hours. This long soak time helps the milk proteins to penetrate and evenly coat the fibres. - Spin Out Excess Liquid
After soaking, place the fabric in the washing machine on a spin-only cycle. Be sure not to add any additional water or detergent; the spin cycle will simply remove the excess liquid. - Air Dry Thoroughly
Once spun, hang the fabric in a shaded, well-ventilated area to air dry completely. Avoid direct sunlight as it can weaken the fabric and/or interfere with the curing process.
Step 3: Storage and Handling of Soya Milk Solution
To keep your soya milk solution fresh, store it in a cool, dark place, ideally refrigerated if possible, to prevent fermentation. Once the milk starts to smell or separate, discard it. Using spoiled soya milk can lead to an uneven coating and unpleasant smells in the final fabric.
Step 4: Layering the Soya Milk Coating
After the fabric has dried completely, you’ll repeat the soya milk step by dipping and drying twice more to build up a thin, even layer of protein on the fabric:
- Dip Briefly
Take the dry fabric and dip it briefly back into the original bucket of soya milk solution. This time, the goal is just a quick, even coating rather than a prolonged soak. - Spin Out Excess
Spin out any extra liquid as before, using a spin-only cycle with no added water. - Air Dry Fully
Allow the fabric to air dry completely. Do not rinse the fabric between dips. - Repeat the Dip and Dry Process
Once dry, repeat the dipping, spinning, and drying process one final time. After this second brief dip and dry, the fabric should have an even, light layer of soya milk protein, which will help the dye adhere better to the fibres.
Step 5: Curing the Fabric
Once your fabric has gone through the soya milk layering process, it’s essential to let it cure:
- Store the Fabric for a Week or Longer
Keep the dry fabric stored in a cool, dry place for at least a week before dyeing. This curing period allows the soya proteins to bond to the fibres, creating a surface that will absorb and hold natural dyes more effectively. - Advance Preparation
You can pre-treat fabric with soya milk well in advance, even several months before dyeing, and store it in a dry, protected space until you’re ready to use it.
Tips for Successful Soya Milk Pre-Treatment
- Avoid Thick Layers: Applying a thin, consistent layer of soya milk is key. Thick applications can lead to uneven dyeing, as certain areas may resist dye uptake more than others.
- Consistency in Application: Make sure each dip evenly coats the fabric and doesn’t leave any spots more saturated than others.
- Don’t Rinse Between Dips or After Final Dip: Rinsing can wash away the proteins, reducing the effectiveness of the pre-treatment.
Soya milk pre-treatment is an excellent way to prepare cellulose and plant-based fabrics for natural dyeing. This method not only promotes strong colour adhesion but also improves the vibrancy and longevity of the dye. Following these steps carefully will allow you to achieve even, rich colour outcomes that stand the test of time.
I have taken this recipe from Rebecca Esnos Website.
#NaturalDyeing #NaturalDye #NaturalDyes #SoyaMilk #Plant-BasedFabrics #SoyaMilkPre-Treatment
References:
Image: Mae Mu
Website:
https://unsplash.com/photos/white-powder-in-bowl-3d4VRbKaYBE
://rebeccadesnos.com/blogs/journal/pretreating-fabric-in-soya-soy-milk-faqs/
